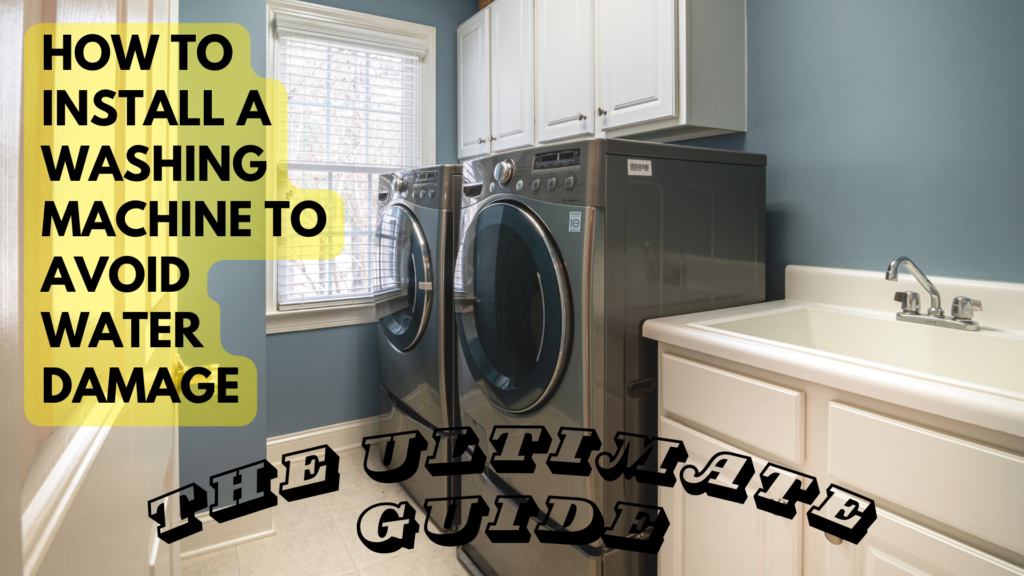
Learn How to Install a Washing Machine to Avoid Water Damage
Installing a washing machine might seem like a straightforward task, but improper installation can lead to costly water damage in your home. Whether you’re replacing an old unit or setting up a new one, taking the right steps during installation is crucial to prevent leaks and flooding. In this comprehensive guide, we’ll walk you through the process of installing a washing machine correctly to avoid water damage and ensure smooth operation for years to come.
1. Choose the Right Location
- Select a level surface: Place your washing machine on a level floor to prevent it from vibrating excessively during operation, which can lead to leaks.
- Adequate spacing: Leave at least a few inches of space between the back of the machine and the wall to allow for proper ventilation and access to water supply hoses.
- Avoid carpeted areas: Install your washing machine on a hard surface like tile or vinyl to minimize the risk of water damage from leaks.
2. Check Water Supply and Drainage
- Locate water supply valves: Identify the hot and cold water supply valves near your washing machine’s installation location.
- Inspect hoses: Check the condition of your water supply hoses for any signs of wear or damage. Replace them if necessary to prevent leaks.
- Proper drainage: Ensure that the washing machine’s drain hose is securely connected to a drainpipe or standpipe and is not kinked or obstructed.
3. Level the Machine
- Adjust leveling feet: Use a wrench to adjust the leveling feet at the bottom of the washing machine until it is level from side to side and front to back.
- Use a bubble level: Place a bubble level on top of the machine to verify that it is evenly balanced.
4. Connect Water Supply
- Attach hoses: Connect the hot and cold water supply hoses to the corresponding valves, ensuring that they are tightened securely by hand.
- Turn on water supply: Slowly turn on the water supply valves and check for any leaks around the hose connections. Tighten if necessary.
5. Plug in and Test
- Plug in the machine: Connect the washing machine’s power cord to a grounded electrical outlet.
- Run a test cycle: Fill the machine with a small load of laundry and run a test cycle to check for proper operation and any signs of leaks.
6. Maintenance Tips
- Regular inspections: Periodically check the condition of water supply hoses and drainage components for signs of wear or damage.
- Clean the lint trap: Clean the washing machine’s lint trap regularly to prevent clogs that can lead to drainage problems.
- Avoid overloading: Follow the manufacturer’s recommendations for load size to prevent strain on the machine and potential leaks.
For Water Damage Issues, Contact Superior Restoration
Proper installation of a washing machine is essential to avoid water damage and ensure its efficient performance. By following the steps outlined in this guide, you can minimize the risk of leaks and flooding in your home. However, if you do experience water damage from your washing machine, Superior Restoration is here to help. With our expertise and specialized equipment, we can quickly mitigate the damage and restore your home to its pre-loss condition. Don’t hesitate to contact us for professional assistance in dealing with washing machine water damage.

