How to Fix a Sagging Ceiling
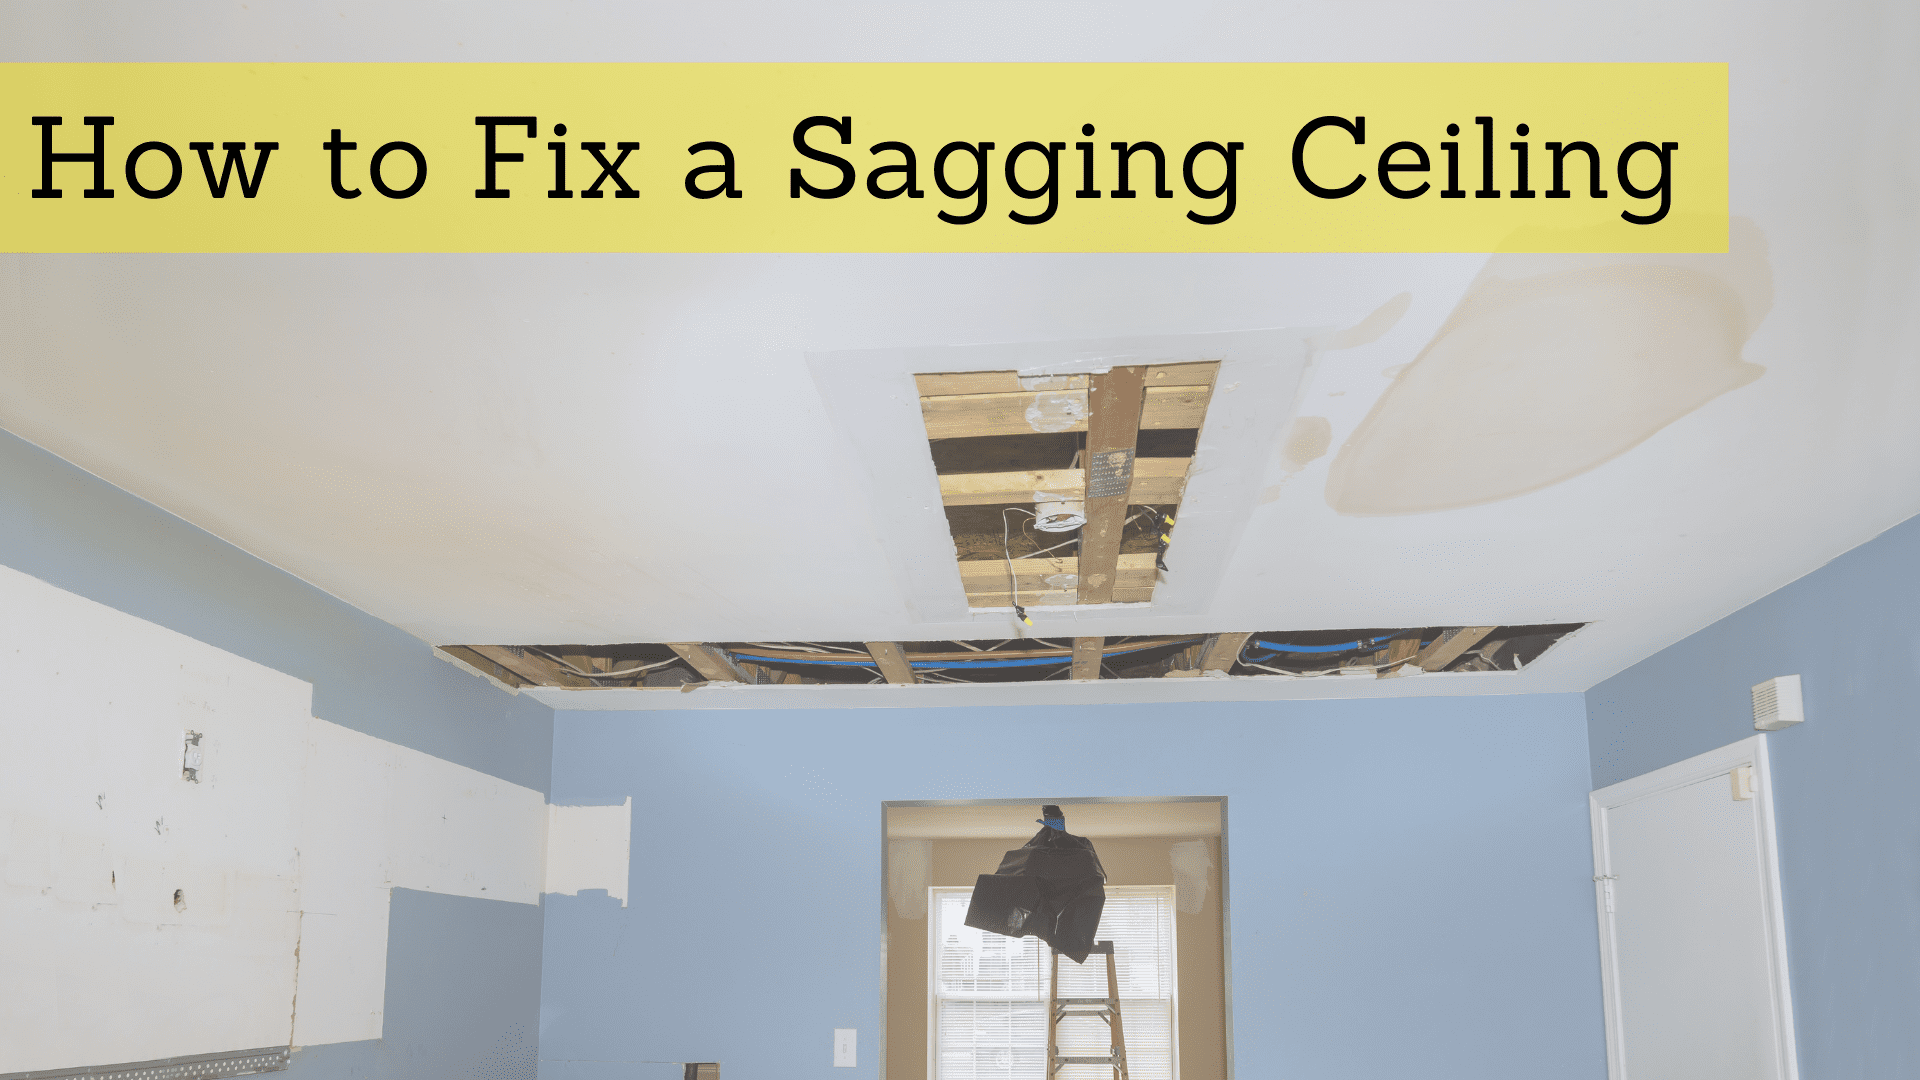
A sagging ceiling is not only an eyesore but can also be a sign of potential structural issues in your home. Ignoring a sagging ceiling can lead to more significant problems down the line, including costly repairs. In this comprehensive guide, we will delve deeply into the steps to fix a sagging ceiling, from identifying the cause to making the necessary repairs. So, let’s get started on restoring your ceiling’s integrity and beauty.
Step 1: Identify the Cause
Before you can fix a sagging ceiling, it’s crucial to determine the underlying cause. Common reasons for a sagging ceiling include:
- Water Damage: Leaking roofs or pipes can weaken ceiling materials.
- Excess Weight: Heavy objects stored in the attic can stress the ceiling.
- Age and Settlement: Over time, ceilings may sag due to natural settling.
Identifying the cause is essential, as it will guide you in addressing the issue effectively. Water damage, for example, will require different repairs than age-related sagging. Sometimes, multiple factors may contribute to the sagging, making a thorough examination crucial.
Step 2: Safety First
Safety is paramount when addressing a sagging ceiling. Ensure you have the following safety equipment:
- Safety goggles
- Dust mask
- Gloves
- Ladder
- Hard hat (if necessary)
You should also have a first-aid kit on hand and someone aware of your project in case of emergencies. Your safety is a top priority during this process.
Step 3: Turn off Utilities
Before starting any repair work, turn off electricity and water to the affected area to minimize the risk of accidents. This is a critical step to avoid electric shock or further water damage during the repair process.
Step 4: Support the Ceiling
To prevent further sagging and potential collapse, use adjustable support jacks to temporarily prop up the ceiling. Position these jacks at even intervals along the sagging area, ensuring they reach the floor securely. The jacks will redistribute the load, relieving the pressure on the weakened portion of the ceiling.
These support jacks are crucial, especially if you’re dealing with a large or heavily damaged area. They provide stability and safety throughout the repair process.
Step 5: Remove Damaged Materials
Identify and remove any damaged or weakened ceiling materials. This may include plaster, drywall, or ceiling tiles. Be cautious when doing this to avoid making the sag worse. It’s essential to remove all the damaged materials to access the root of the problem.
In some cases, you may find mold or other contaminants in the damaged materials. It’s important to wear proper safety gear and dispose of these materials appropriately to prevent health hazards.
Step 6: Address the Underlying Issue
Depending on the cause you identified in Step 1, you will need to:
- Fix Leaks: Repair any sources of water damage, such as a leaky roof or pipes. This may involve patching leaks, replacing damaged sections, or even re-roofing in severe cases.
- Remove Excess Weight: Relocate heavy objects in your attic or storage space. Sometimes, the simple act of removing heavy items can alleviate the sagging. Ensure your attic’s weight-bearing capacity is not exceeded.
- Reinforce Support: In cases of age-related sagging, you may need to reinforce the ceiling’s support structure. This could involve adding additional joists or beams to provide extra support and restore the ceiling’s level.
Step 7: Replace Ceiling Materials
Once you’ve addressed the underlying issue, it’s time to replace the damaged ceiling materials. Install new drywall, plaster, or tiles as needed, following manufacturer instructions and ensuring a level surface. This step requires careful measurement, cutting, and installation to achieve a seamless and attractive result.
It’s important to choose the appropriate materials for your specific ceiling type. For example, drywall is a common choice for modern homes, while older homes may have plaster or other materials. Ensure that the new materials match the existing ceiling to maintain a uniform look.
Step 8: Finish the Surface
After installing new materials, it’s essential to finish the surface by sanding, priming, and painting. This step will not only restore the appearance of your ceiling but also protect it from future damage. Properly finishing the surface not only enhances the aesthetics but also adds a layer of protection against moisture and other potential issues.
Selecting the right paint or finishing material is crucial. Consider using paint with mold and mildew resistance, especially if water damage was a contributing factor to the sagging.
Step 9: Remove Support Jacks
Once the materials have fully set and the ceiling is no longer sagging, carefully remove the support jacks one at a time. This should be done with caution to ensure that the newly repaired ceiling can support its weight without assistance. Removing the support jacks is a satisfying sign that your repairs have been successful.
Step 10: Regular Maintenance
To prevent a sagging ceiling from occurring in the future, consider regular home maintenance. Check for leaks, monitor the weight in your attic, and address any issues promptly. Regular inspections can help you catch potential problems early, saving you time and money in the long run.
You should also keep an eye on the condition of your roof and attic, as these are common sources of ceiling problems. Roof leaks, in particular, can cause significant damage if not addressed promptly.
Contact a Restoration Specialist
Fixing a sagging ceiling can be a challenging DIY project, but it’s crucial for the safety and aesthetics of your home. By following these comprehensive steps, you can identify the cause, address the issue, and restore your ceiling to its former glory. If you’re uncomfortable with any step or suspect a more serious structural problem, it’s always advisable to consult with a professional contractor to ensure the job is done safely and effectively.
For those who prefer to have experts handle the restoration, Superior Restoration is here to help. With a team of experienced professionals specializing in home restoration and repairs, they can assess the cause of your sagging ceiling, provide an accurate diagnosis, and execute the necessary repairs with precision and efficiency. Superior Restoration not only restores the structural integrity of your home but also ensures aesthetic appeal, leaving you with a beautifully renovated ceiling.
Remember that a sagging ceiling is not just a cosmetic issue; it’s a warning sign that should prompt immediate attention to prevent further damage to your home. Whether you choose the DIY route or opt for professional assistance, the goal is the same: to restore your home to a safe, functional, and visually appealing space that you and your loved ones can enjoy for years to come.


