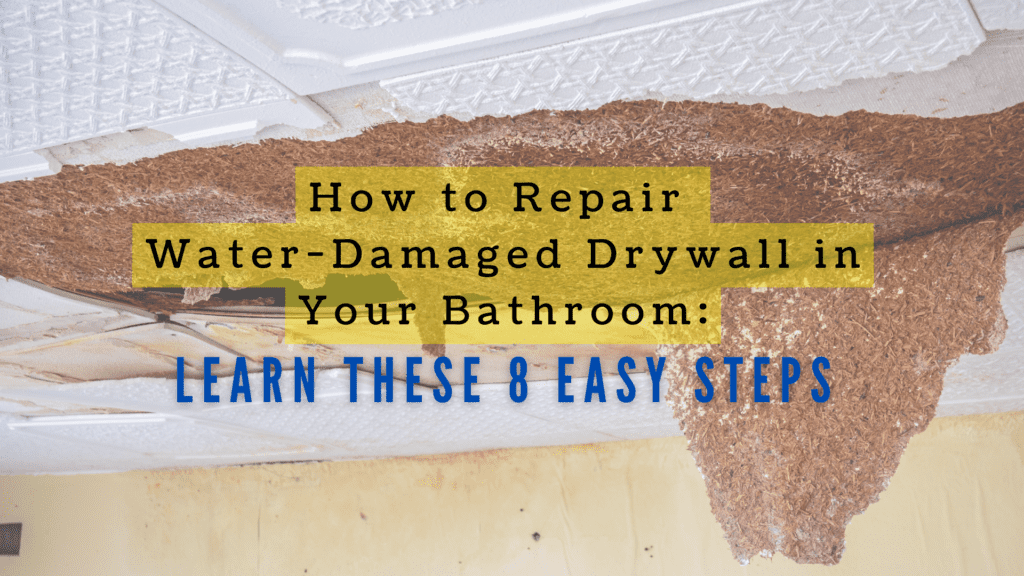
Water damage is a common issue in bathrooms, often caused by leaks, condensation, or plumbing problems. One of the primary areas affected by water damage is the drywall. Dealing with water-damaged drywall promptly is crucial to prevent further issues such as mold growth and structural damage. In this comprehensive guide, we will take you through the step-by-step process of repairing water-damaged drywall in your bathroom, providing detailed explanations and tips to help you restore its appearance and functionality.
Step 1: Assessing the Extent of the Damage
Before you start repairing the water-damaged drywall in your bathroom, it’s important to assess how severe the damage is. Here’s a simplified guide on how to do this:
- Look for water stains: Check for discolored patches on the walls or ceilings, indicating areas where water has caused damage.
- Check for soft spots: Gently press on the drywall to identify any areas that feel soft or spongy, as these indicate water damage.
- Inspect for peeling paint or wallpaper: Look for areas where the paint or wallpaper is bubbling, blistering, or peeling away from the drywall surface.
- Look for bulging areas: Run your hand over the walls and check for any irregularities or protrusions, which could indicate water-related swelling or warping.
- Investigate the cause: Try to determine what caused the water damage, such as a leaky pipe, plumbing issues, condensation, or poor ventilation in the bathroom.
By assessing the extent of the damage and understanding the underlying causes, you can better plan and execute the repair process for your water-damaged drywall in the bathroom. If you’re unsure about the severity or causes of the damage, consider consulting a professional water damage restoration specialist for expert advice.
Step 2: Safety Precautions
Before you start repairing the water-damaged drywall in your bathroom, it’s crucial to prioritize your safety. Here are simplified safety measures to follow:
- Turn off the power: Switch off the electrical power to the affected area to avoid electrical hazards.
- Wear protective gear: Protect yourself by wearing safety goggles and gloves to prevent injuries and irritations.
- Avoid electrical hazards: Be aware of electrical outlets, switches, and wiring near the damaged drywall. Take precautions to prevent damage or contact.
- Use proper tools: Handle tools carefully, follow instructions, and use safety features to reduce the risk of accidents.
- Maintain good ventilation: Open windows or use fans to improve airflow and minimize dust, fumes, and odors.
- Be cautious with ladders or step stools: Ensure stability and maintain three points of contact while using them.
By following these simplified safety precautions, you can proceed with the repair process confidently and minimize potential risks and accidents.
Step 3: Removing Damaged Materials
To repair water-damaged drywall, you need to remove the affected materials. Here’s a simplified guide:
- Gather the necessary tools: Get a utility knife, hammer, pry bar or putty knife, and dust mask.
- Assess the damaged area: Identify the extent of the water damage and mark the boundaries of the affected section.
- Score the drywall: Use a utility knife to score the drywall along the marked lines.
- Remove the damaged section: Tap the damaged area with a hammer to create a hole or crack. Use a pry bar or putty knife to gently pry and remove the damaged drywall.
- Address weak parts: Remove any loose or weak sections, cutting until you reach a stable surface.
- Protect the underlying structure: Be careful not to damage the underlying structure, such as wall studs or insulation.
- Dispose of the materials: Place the removed drywall pieces in a waste bag and clean up any debris.
Step 4: Drying the Area Thoroughly
After removing the water-damaged drywall, it’s crucial to dry the area completely to prevent mold growth. Here’s how:
- Increase airflow: Open windows and doors to improve ventilation and let fresh air in.
- Use fans: Position fans to circulate air and help dry the area faster. Aim them towards the exposed studs and remaining drywall.
- Consider a dehumidifier: If it’s particularly humid or damp, use a dehumidifier to remove excess moisture from the air.
- Check moisture levels: Use a moisture meter to monitor the moisture levels in the area. Ensure it reads below 15% before moving forward with repairs.
- Get professional help if needed: If the water damage is extensive or drying is challenging, consider contacting professionals with specialized equipment.
- Be patient: Drying may take time, so allow enough time for the area to dry completely before proceeding with repairs.
By following these simplified steps, you can ensure that the area is thoroughly dried, reducing the risk of mold growth and creating a suitable environment for the next stages of the repair process.
Step 5: Replacing the Drywall
Once the area is dry, it’s time to replace the removed section with new drywall. Follow this simplified guide:
- Measure and cut: Measure the opening and cut a new piece of drywall to fit.
- Attach the new drywall: Secure the new drywall to the studs behind the wall using drywall screws.
- Fill gaps and seams: Use joint compound to fill gaps and seams between the new drywall and existing drywall. Ensure a seamless finish by smoothing it out.
- Apply multiple layers: Apply several thin layers of joint compound, allowing each layer to dry before adding the next. Create a smooth transition by feathering the edges.
- Sand and smooth: Use sandpaper or a sanding block to smooth the surface, being careful not to damage surrounding areas. (Read Step 6.)
- Prime and paint: Apply primer and paint to blend the repaired section with the rest of the wall. (Read Step 7.)
- Choose moisture-resistant drywall: Select moisture-resistant or green board drywall specifically designed for bathrooms to prevent future water damage.
Step 6: Sanding and Finishing
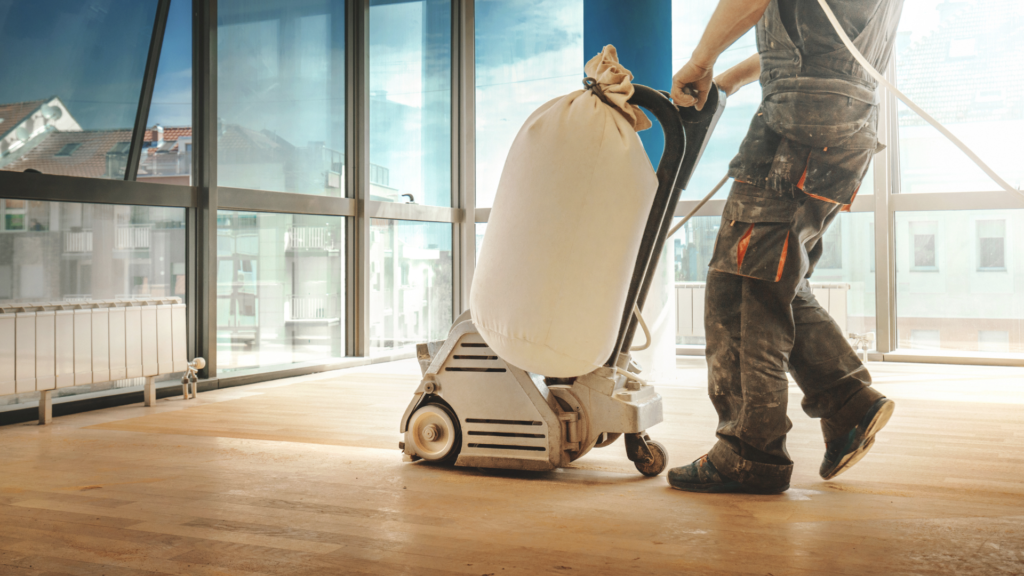
After the joint compound has dried, sanding the repaired area is crucial for achieving a smooth surface. Here’s a detailed guide on sanding and finishing:
- Start with coarse-grit sandpaper: Begin by using coarse-grit sandpaper (around 120-grit) to level out any unevenness or ridges in the joint compound. Sand lightly in a circular or back-and-forth motion, keeping the pressure even.
- Progress to finer-grit sandpaper: Gradually switch to finer-grit sandpaper (around 220-grit) to smooth the surface further. Continue sanding until the repaired area blends seamlessly with the surrounding wall.
- Avoid over-sanding: Be cautious not to over-sand, as it can damage the repaired area or the existing wall. Regularly check the smoothness of the surface and stop sanding once it feels even and smooth to the touch.
- Clean up dust: After sanding, use a soft brush or a clean cloth to remove any dust or debris from the repaired area. Make sure the surface is free of dirt or debris before moving on to the next step.
Step 7: Priming and Painting
Applying primer and paint will provide a finished look to your repaired drywall. Follow these steps for priming and painting:
- Choose a suitable primer: Select a primer specifically designed for drywall and bathrooms. Moisture-resistant or stain-blocking primers are recommended to protect against moisture and ensure good paint adhesion.
- Apply primer: Use a brush or roller to apply a coat of primer to the repaired area and the surrounding wall. Adhere to the instructions provided by the manufacturer regarding application and drying durations.
- Select the right paint: Choose a high-quality paint formulated for bathrooms or areas with high humidity. Opt for a sheen that suits your preference, such as satin or semi-gloss, as these finishes are easier to clean and more resistant to moisture.
- Paint the repaired area: Apply paint using a brush or roller, covering the repaired area and blending it with the rest of the wall. Put on several thin coats of paint, making sure to let each coat dry before adding the next one.
- Touch-ups and color consistency: After painting, inspect the repaired area for any visible differences in color or texture. Make necessary touch-ups to ensure a consistent finish throughout the wall.
Step 8: Finishing Touches and Maintenance
In this final step, focus on the finishing touches and maintaining your bathroom drywall:
- Inspect the repair: Take a close look at the repaired area to ensure it matches the surrounding wall and there are no visible imperfections. Make any necessary touch-ups or adjustments to achieve a seamless result.
- Reattach fixtures and accessories: If any fixtures or accessories were removed during the repair, carefully reattach them to the wall, ensuring they are securely in place.
- Regular maintenance: Implement regular maintenance practices to prevent future water damage. Keep the bathroom well-ventilated, promptly address any water leaks or plumbing issues, and promptly clean up any spills or moisture.

How to Repair Water-damaged Drywall in Bathroom – Superior Restoration Knows 100%
Repairing water-damaged drywall in your bathroom is a crucial task to maintain the integrity and aesthetics of your space. By following this comprehensive guide, you can effectively address the water damage and restore your bathroom’s drywall. However, if you find yourself facing extensive damage or feel overwhelmed by the repair process, professional assistance is available.
Superior Restoration is a trusted name in the industry, specializing in water damage restoration. Their team of skilled professionals has the expertise and experience to handle even the most challenging water-damaged drywall repairs. With their advanced techniques and state-of-the-art equipment, they can efficiently assess the damage, provide thorough drying services, replace the damaged drywall, and ensure a seamless restoration.
By reaching out to Superior Restoration, you can benefit from their specialized knowledge and save time and effort. They understand the urgency of water damage situations and offer prompt and reliable services to help you restore your bathroom quickly and effectively.
For any of your restoration needs, contact Superior Restoration today and you will surely receive the assistance you need and regain peace of mind in knowing that your water-damaged drywall will be repaired by experts in the field.


